October 03, 2026
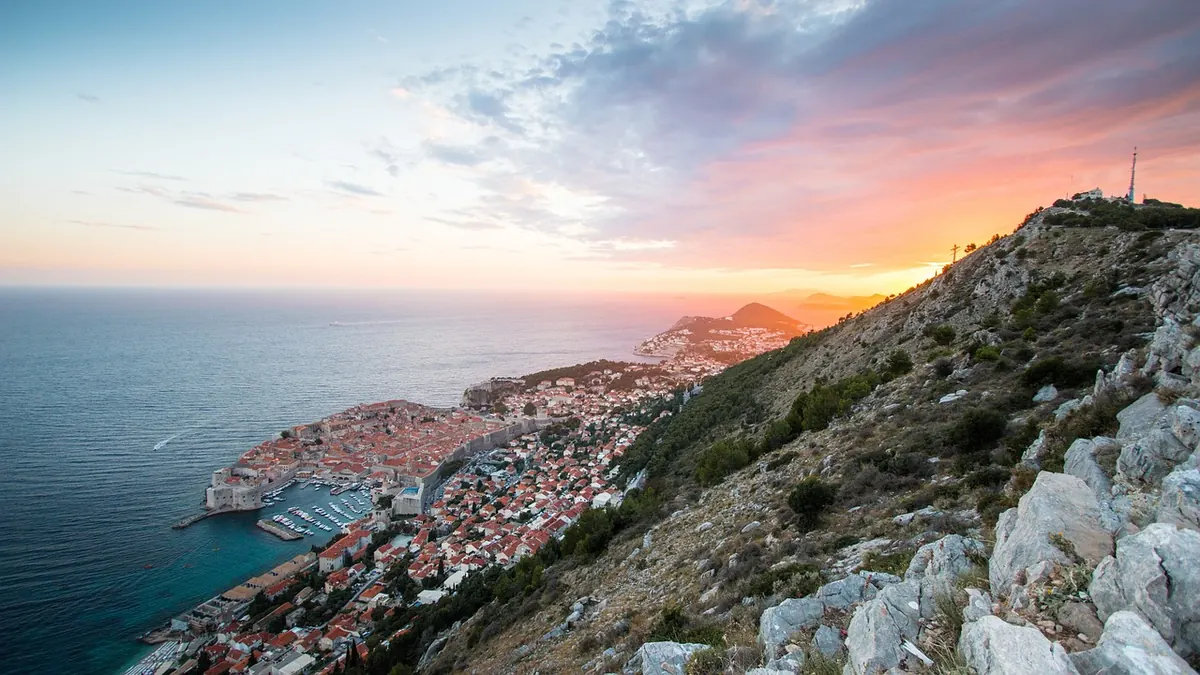
The light turns gold about forty minutes before the sun touches the water, and in a working port it does something particular: it catches the masts, runs along the concrete quay, and doubles the whole scene in water that is never quite still. Yet the terrace that looks unforgettable at noon can turn out flat, crowded, or sliced in half by a lamp post at the hour that actually matters. Choosing well is less about luck than about four things you can check in advance — sun direction, elevation, sightlines and crowds. Run this routine once and you will stop wasting good evenings on bad spots.
Start With the Sun, Not With the View
Most people pick a viewpoint because of what they see, then hope the sunset cooperates. Reverse that. Before anything else, work out where the sun will actually set relative to the harbor, because a port has a shape and the light will follow it whether you like it or not.
A west-facing quay puts the sun in the frame, low behind the breakwater, with the water between you and it turning into a path of reflected light. That path is one of the great rewards of harbor photography, and it only appears when the sun is in front of you. A quay facing east gives you the opposite arrangement: the sun goes down behind your shoulder and the harbor lights up in front of you, then keeps glowing pink and violet for twenty minutes after the official sunset time. Many photographers prefer the second version. The colors are softer, the contrast is manageable, and the boats stay readable instead of turning into black silhouettes.
Note the seasonal swing as well. In the northern hemisphere the sun sets north of due west in summer and south of due west in winter, which can move the setting point by a wide arc across the harbor mouth over a year. A spot that works beautifully in June may look at a completely different patch of water in November. A phone compass tells you the orientation in seconds; a sun-position app tells you the exact azimuth for your date. Or do it the slow way: stand at the spot at the same time the day before and watch.
Read the Elevation Before You Climb
Higher is not automatically better. From a hilltop two hundred meters above the port, the fishing boats become specks and the harbor loses the texture that makes it worth photographing. The useful range is usually somewhere between ten and forty meters: enough height to see over the quay edge, the parked cars and the knot of people at the railing, but low enough to keep masts, cranes and the harbor mouth at a human scale.
Three extra meters can make a surprising difference. Standing on a low wall instead of the pavement often clears a row of vans, a hedge, or the heads of a crowd — and those are exactly the obstructions that ruin the bottom third of a picture. Look for public terraces, stairways, the top of a breakwater, a bridge over the inner basin, or the steps of a church. Check the contour lines on a map before you walk, or hold your phone flat and use an elevation app to compare two candidate spots.
Consider looking along the harbor rather than across it. A slightly elevated point near the harbor mouth gives you the boats stretched out in layers toward the open sea, which reads much better than a flat side-on view of a row of hulls.
Trace the Sightline, Then Walk It
Photographs on a map are deceptive. Go to the spot at eye level and follow the line from your lens to the harbor mouth and to the point on the horizon where the sun will go down. Count what is in the way: lamp posts, overhead cables, the boom of a crane, flagpoles, a moored yacht that dwarfs everything behind it, a row of trees. Any of these can ruin a composition that looked clean from a distance.
Pay particular attention to the last ten minutes of light. A rooftop, a silo or a hillside that cuts the sun early will end your evening before the best color arrives. Stand there, look west, and imagine the sun sinking a hand's width lower than it already is.
What makes a good foreground in a port
- Mooring bollards, rope coils and chains along the quay edge — small, dark, textured anchors for the bottom of the frame.
- The painted edge line of the quay, which leads the eye in if you stand slightly above it.
- Wet stone or a shallow puddle after rain, doubling the masts.
- A breakwater wall or stone steps giving a clean diagonal.
- Rigging and mastheads, if you can frame them without clutter.
Arrive Early and Read the Crowds
The hour before sunset is when everyone arrives at once. Restaurant terraces start claiming the railing, tour groups gather at the famous corner, and tripods appear in a line. Arriving seventy-five to ninety minutes before sunset does three things: it lets you claim a position, it gives you time to change your mind, and it puts you there for the light everyone else misses — the warm, low, side-lit stage before the sun gets close to the water.
Crowds also change with the port itself. A berthed cruise ship can block an entire water view until it sails; ferries and fishing boats come and go on their own schedule. Weekends behave differently from Tuesdays. If a spot is overrun, walk a hundred meters along the quay — the view is usually nearly as good and the company is far better.
Be a decent neighbor once you are there. Keep tripod legs close to your body, do not plant yourself in front of diners, and leave gaps where people can pass. A spot you can return to next year is worth more than three extra centimeters of height.
A Quick Scouting Checklist for the Same Afternoon
Run this on the ground, ideally the afternoon before the evening you plan to shoot.
- Sunset time and azimuth for the date, checked against the harbor's orientation.
- Access and closing times — gates, private terraces, stairs that lock at dusk.
- Ground level: shoot a test frame with your phone from eye height, not from chest height, and look at it honestly.
- Obstructions: list everything between you and the harbor mouth, then ask which will be silhouetted.
- Wind: an onshore breeze ruffles the water and breaks reflections; sheltered basins give the cleanest mirror.
- Tide, where it matters, because it changes how much stone, sand or weed shows in the foreground.
- Reflective surfaces: a pale wall, a whitewashed building or a glass facade can bounce the last light back into the scene.
- A backup spot a short walk away, in case a ship arrives or a group settles in.
The Final Check Before You Commit
Standing at the spot with an hour of light left, four questions settle it. Where is the sun? How high am I? What is in the way? Who else is here? If the answers are broadly good, stay put and enjoy it rather than chasing a better view that probably does not exist. If one answer is bad, move — twenty steps along a railing often fixes the light and the crowd at once.
Bring a warm layer, a small tripod you will actually carry, and enough patience to stay twenty minutes past the moment the sun disappears. In a port, the afterglow over the water is frequently the best part of the evening, and the people who leave early are the ones who miss it.
Photo: j_nnesk_sser / Pixabay